Hi everyone!
Hope you are all well :)
Today I wanted to talk about strobing, which in basic terms, is highlighting. However strobing is an extreme form of highlighting the face. Highlight is the opposite to contour. Contour creates shadows and makes things look slimmer, Highlighting is going to extenuate the facial feature you want to bring out the most.

The white bits here on the face is where we would highlight normally. Highlight can be done with cream and powder products. Today I would just like to focus less on the cream products and more on the powder side of things. If you want to do cream highlight then just take a concealer or foundation or makeup stick about 2/3 shades lighter than your own shade and place under the eyes, down the nose, in the middle of the forehead and chin ( if you have a larger chin, highlight will make it stand out even more so try to avoid this area if you want ). Another option is to highlight under your contour too which I do most of the time to clean up the edges. Personally I love a really strong contour but if you don't you can skip this step also. Blend everything together and you'll have a beautiful looking cream contour and highlight.
Now lets take a step back further, before we even apply makeup. Prep the skin. I myself have very oily skin so after I have washed my face with a face wash, I cleanse my face to remove even more oil. At the moment I am using Garnier Micellar Water which can be bought in Penneys for €4.50 or any other chemists. The bottle is huge and will last you forever. After cleansing I moisturize my face, just use your normal everyday one. It is so so important to do this even if you have oily skin.
Next is the actual strobing prep! I use 3 products on the skin. First I take my MAC strobe cream which can be got in MAC or Brow Thomas, I have the mini travel version and it costs €10! I'd recommend this to anyone, even with oily skin and it's not too expensive to have a little bottle of it to yourself, a little goes a long way. Then I take my Rimmel London face primer. This smooths out my skin, over blemishes and fills in my pores while also adding a nice glow to the face. Finally, I use High Beam by Benefit, this is just the cherry on top. I only apply this on the cheeks,nose,lip and above the arch of my brow. By now you're looking some what like a disco ball but that's okay, that's what we are going for!


Hope you are all well :)
Today I wanted to talk about strobing, which in basic terms, is highlighting. However strobing is an extreme form of highlighting the face. Highlight is the opposite to contour. Contour creates shadows and makes things look slimmer, Highlighting is going to extenuate the facial feature you want to bring out the most.

Now lets take a step back further, before we even apply makeup. Prep the skin. I myself have very oily skin so after I have washed my face with a face wash, I cleanse my face to remove even more oil. At the moment I am using Garnier Micellar Water which can be bought in Penneys for €4.50 or any other chemists. The bottle is huge and will last you forever. After cleansing I moisturize my face, just use your normal everyday one. It is so so important to do this even if you have oily skin.
Next is the actual strobing prep! I use 3 products on the skin. First I take my MAC strobe cream which can be got in MAC or Brow Thomas, I have the mini travel version and it costs €10! I'd recommend this to anyone, even with oily skin and it's not too expensive to have a little bottle of it to yourself, a little goes a long way. Then I take my Rimmel London face primer. This smooths out my skin, over blemishes and fills in my pores while also adding a nice glow to the face. Finally, I use High Beam by Benefit, this is just the cherry on top. I only apply this on the cheeks,nose,lip and above the arch of my brow. By now you're looking some what like a disco ball but that's okay, that's what we are going for!

You should be looking something like this!

Next I just do my usual makeup routine, brows, eyes, foundation and then i get into the highlight and contour. I highlight a little bit by using a concealer under the eyes, down the nose, on the chin and forehead. I use MAC Pro longwear concealer in NC20 to do this. Then I cream contour, which I have a blog post on. Then I set my face with a powder from my Blank Canvas contour kit and now onto the strobing.
I used about 3 different highlighers to get this look so bare with me haha!
- Products used:
- MaryLou by theBalm €20.50
- Melon pigment by MAC €24.50
- Soap&Glory shimmer brick €15
- Brushes used:
- Real Techniques duo fibre brush €30 in a set of 3
- Fan brush from eBay €14 in a set of 32


So I applied these highlighters very generously and heavily to the face. I may have even done two layers of each! I applied them on the cheekbones, down the nose, on the very tip of my nose, as a brow bone highlight, the inner corner of my eyes, above the arch of my brow and I think that is all haha! I dusted a small bit under my contour but it's not something that must be done, I didn't find much difference in it to be honest. You can also apply this to your cupids bow (top lip) to make you look like you have pouty lips! I think I did highlight my lips, i basically highlighted my entire face! It was very wet looking in the end, Such an intense look.

I am now a huge fan of strobing but I still love me some cheek bones! I don't think contouring will go away just yet. I think it may become less harsh as the highlight begins to take over but I don't see why we can't have the best of both worlds! Intense contour and highlight? I say yay.
I hope you enjoyed reading this and maybe learned something from it :) I think strobing is great for the summer time when you have a tan ( natural or out of a bottle ). Give it a go ladies and I would love to hear your thoughts and see photos!
I shall leave you with some more selfies so you can see for yourself and also my next posts will be my contouring kits and maybe a smokey eye tutorial? We shall see :)


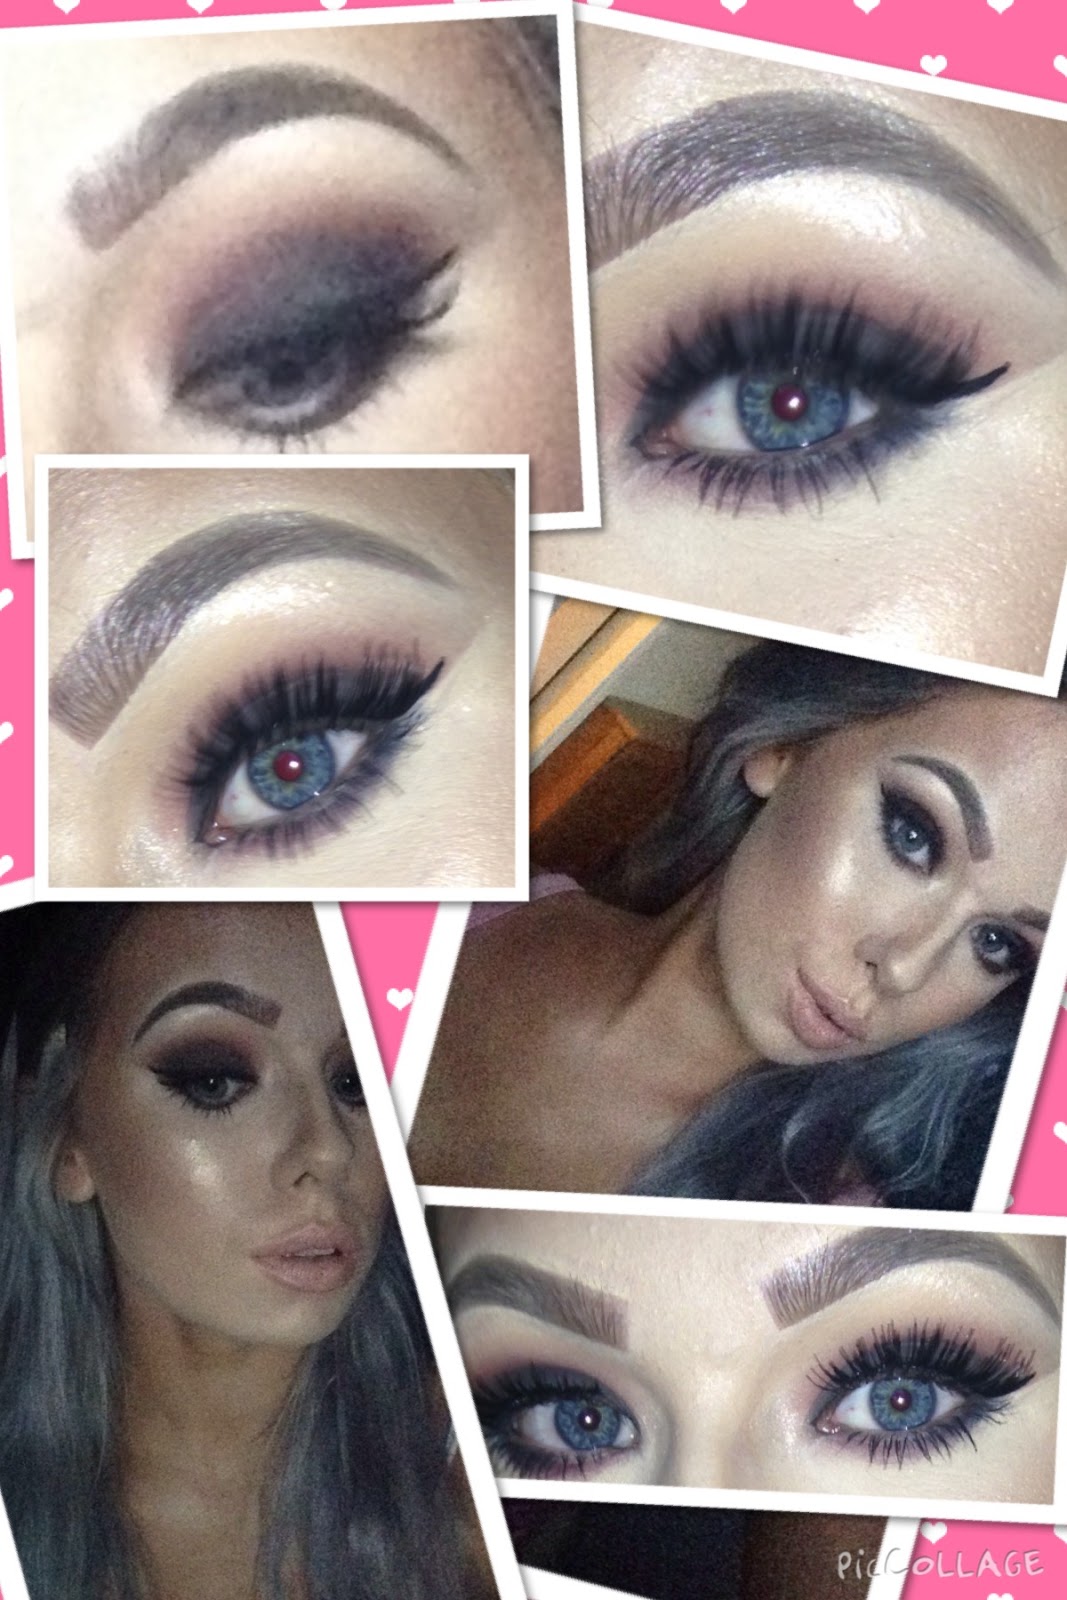 |
| Smokey eye tutorial perhaps? |
Thank you for reading! Xx


